- May 30, 2017
- Posted by: Digiminds
- Category: citrix

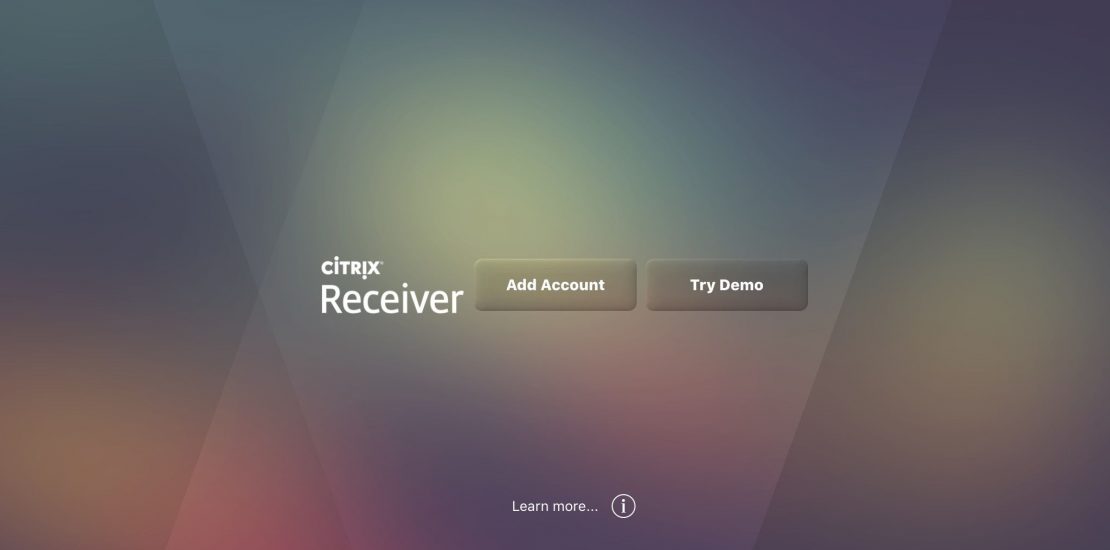
Email based discovery is new feature in Citrix Receiver 4.x and We can configure email-based account discovery to enable end users who install Citrix Receiver on an endpoint to set up their accounts by providing their email addresses. During the initial configuration process, Citrix Receiver prompts end users to enter either an email address or a server URL. When an internal end user enters an email address, Citrix Receiver contacts the DNS server for the domain specified in the email address to get a list of available stores from which the end user can select.
To enable Citrix Receiver to locate available stores on the basis of end users’ email addresses, you must configure Service Location (SRV) locator resource records for StoreFront on your DNS server. As a fallback behavior, we can also deploy Citrix StoreFront on a server named “username@domain.com,” where domain is the domain containing your end users’ email accounts. DNS Server search the service record for _citrixreceiver and return the hostname to enduser.
To Configure a Service Location Locator Record for Email-based Account Discovery
- Log on to the domain controller using domain administrator credentials.
- Click Tools in Server Manager and then click DNS.
- Browse to your domain in the Forward Lookup Zones in the left pane of DNS Manager.
- Double-click AD > Forward Lookup Zones and then click .
- Right-click the forward lookup zone for your domain and then click Other New Records. Right-click training.lab and then click Other New Records.
- Select Service Location (SRV) and then click Create Record in the Resource Record Type screen.
- Type _citrixreceiver in the Service field. —> Type _tcp in the Protocol field.
- Type the port number used by StoreFront in the Port number field. —> Type 443 in the Port number field.
- Specify the fully qualified domain name (FQDN) of the StoreFront server (to support end users in the local network only). —> Click OK.
- Click Done.
- Close the DNS Manager window.
To Install and Configure Receiver
The following procedure is being performed on an internal endpoint to demonstrate email-based account discovery. Email based account discovery cannot be performed from an external endpoint at this time.
- Right-click the internal endpoint, click Start, and then click Console.
Right-click Endpoint-Internal in XenCenter, click Start, and then click Console. - Log on to the internal endpoint using domain user credentials.
Log on to EndPoint-Internal using the TRAINING\HRUser1 and Password1 credentials.
You do not need administrator credentials to install Citrix Receiver unless Receiver will be configured to use
pass-through authentication. In addition, each end user that logs on to an endpoint must configure Receiver in order to use it. - Insert the XenApp and XenDesktop installation media in the DVD drive.
Select XenApp_and_XenDesktop7_6.iso in the DVD Drive 1 field. - Click the File Explorer icon in the taskbar and then click This PC.
- Double-click Citrix Receiver and Plug-ins > Windows > Receiver.
- Double-click CitrixReceiver.
- Click Install on the Welcome screen.
- Click Add Account in the Installed successfully screen to configure Receiver using an email address.
- Type the end user’s email address or the URL of the StoreFront server in the Enter your work email or server address field and then click Next.
Type hruser1@training.lab and then click Next. - Click Continue in the Add Account message.
- Determine if you want Receiver to optimize your access.
Click Yes. - Click Finish.
- Eject the XenApp and XenDesktop media from the DVD drive.
- Log on to Receiver using the end user’s account credentials. Log on to Receiver using the TRAINING\HRUser1 and Password1 credentials.
- Click the + sign in the left portion of the Receiver window to view the applications that are available in the store.
You will add applications to the store in the next module. - Click the down arrow to the right of the user name at the top of the Receiver window and then click Log Off.
- Close the Receiver window.
Click the X in the corner of the Receiver window to close it.
You can also shut down the EndPoint-Internal VM to save lab resources.
